Guide to Vim
This is a short guide to using a very basic text editor.
What is Vim?
Vim, short for “Vi improved” is a powerful, and highly configurable command line text editor. It is primarily keyboard driven, but you can configure it to allow mouse interactions.
Installing Vim
Install on Windows
I won’t be able to explain it that well, I use a Mac, please see the download page.
Install on Mac
Vim by default is installed on most Unix based machines (OSX and Linux). Though if for some reason your mac does not have Vim installed, you can use brew to install it.
If that command doesn’t work Install Brew.
Basics Commands of Vim
Entering Vim
First create a testing file:
1
touch testing.txt
There are three ways that I know of to open vim. The first is just by typing vim into your command line, the next is to type vim ., this will open up you’re current directory, and the final is to use vim filename.filetype.
For this tutorial we will use vim testing.txt. Upon opening your file, you should see something similar to this in your terminal: 
Adding Text
If you start typing, you will find that you cannot write anything. This is because vim is a modal editor. Vim has five modes in total, however, as a beginner you really only need to know two, they are:
- Normal Mode (For moving around the file)
- Insert Mode (For writing text)
You can learn the other three another day.
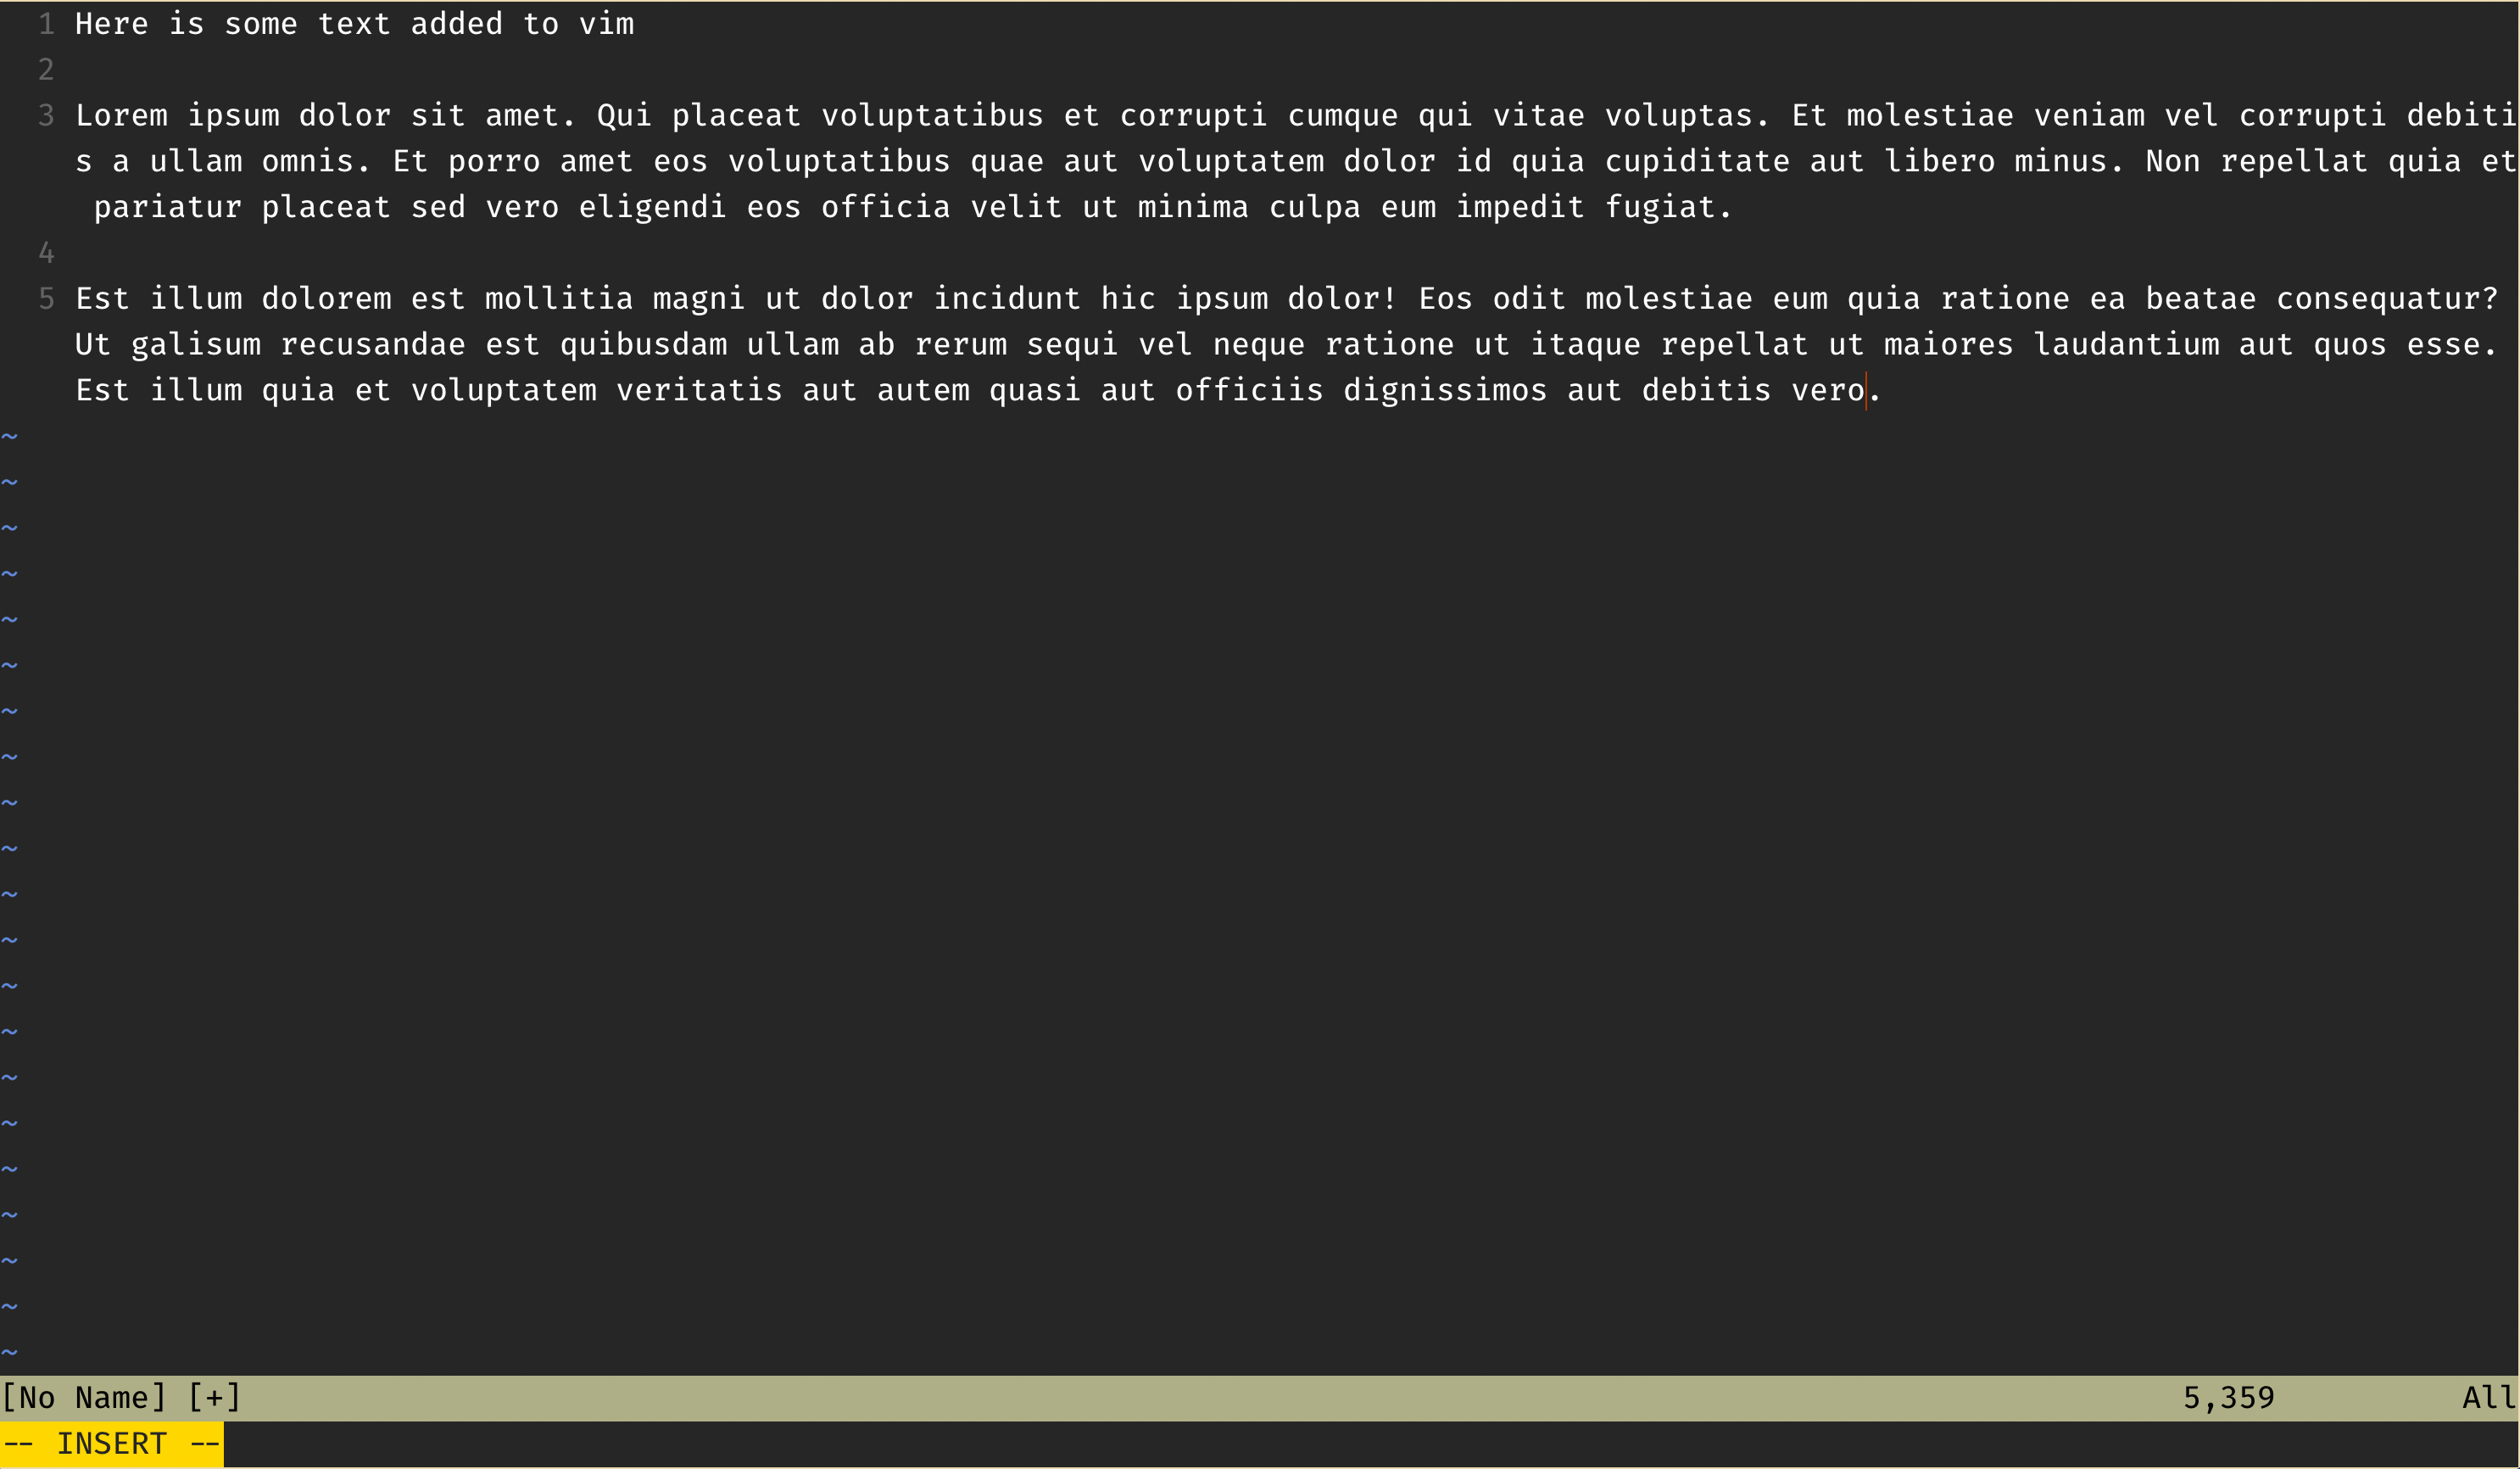
Currently you should be in normal mode, however, your file is empty. To begin writing text, hit i, this will set your current mode to insert. See the difference here: 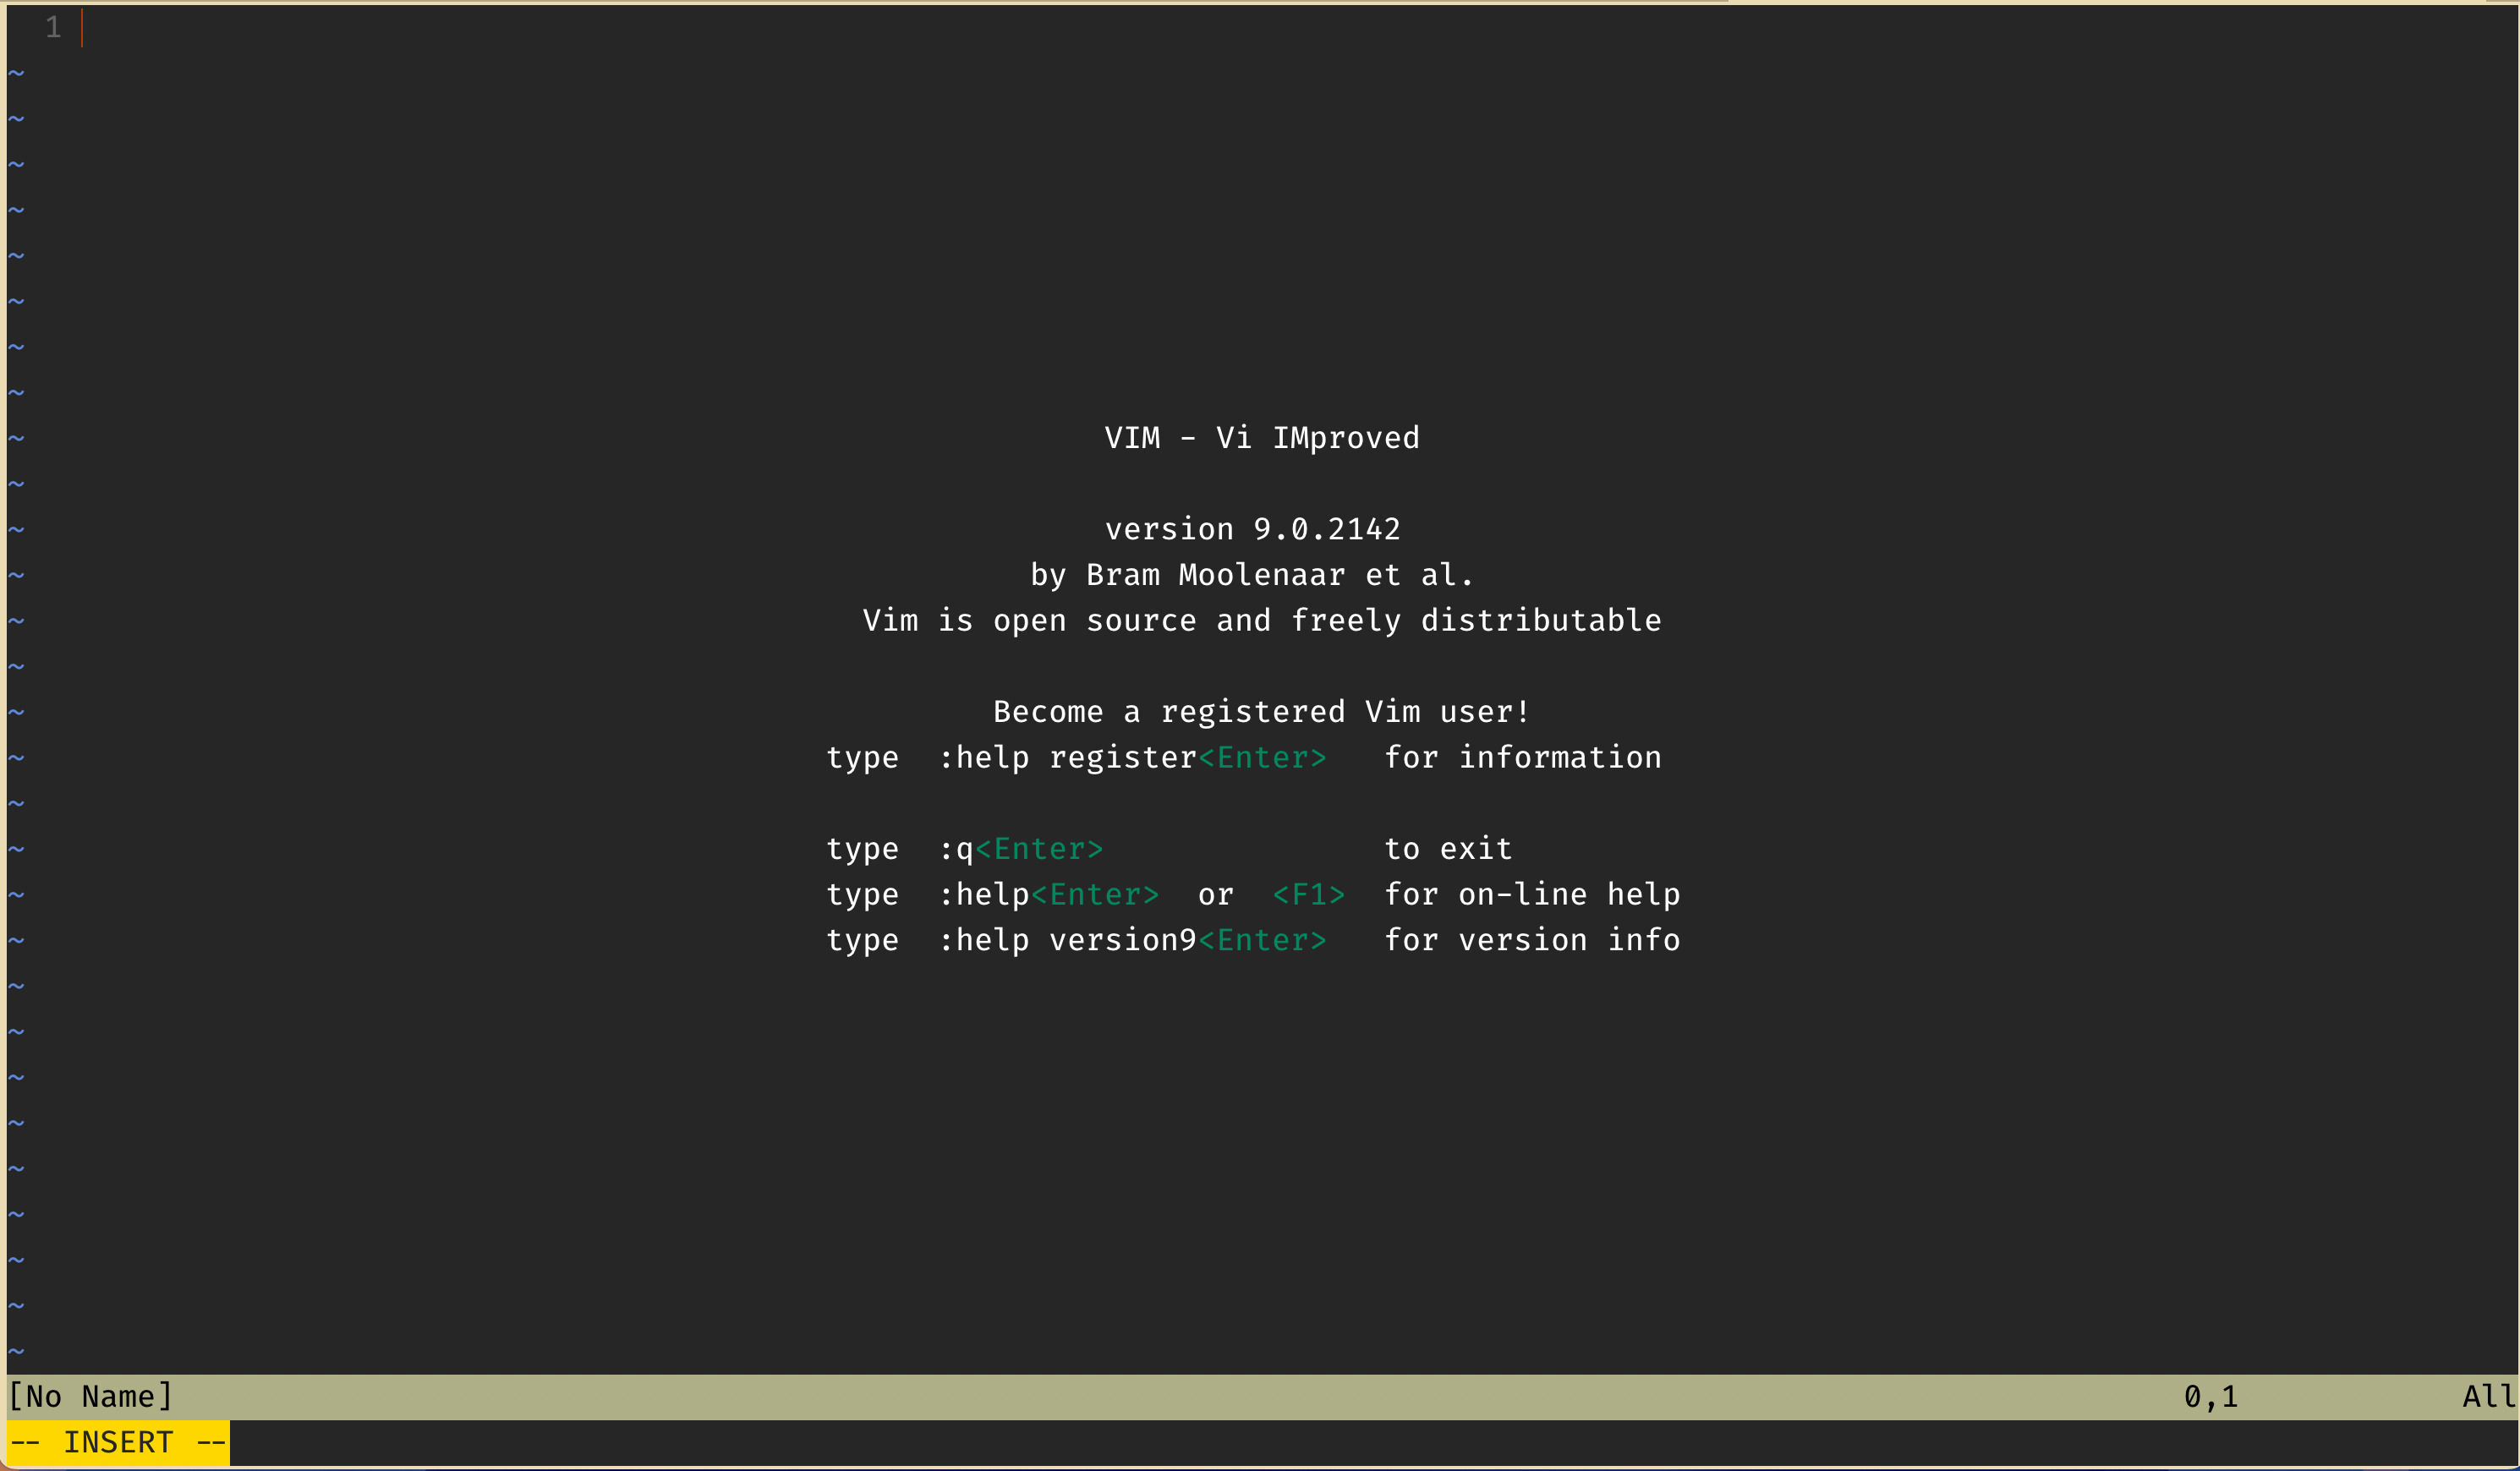
And now we can add text:
Exiting Vim
Now that you have written to your file, you may be wondering how to exit Insert Mode, and exit Vim in general. You can exit insert mode by hitting escape esc on your keyboard, This will put you back into Normal Mode.
Once in Normal mode:
- To save your file but not exit type
:w. This executes thewritecommand, which saves what you have written so far. - To save and exit, type
:wq. This executes thewriteandquitcommands, which will save your file, and exit Vim. - And finally to force quit without saving type
:q!.
Navigation
If you exited your file, re-enter it, because now I’ll cover navigation! There are a couple of ways to navigate around your file in Vim.
- You can use your mouse if it’s enabled in your Vim settings.
- You can use the arrow keys.
- Or you can use the
h,j,k, andlkeys.
Using the h, j, k and l keys for navigation may seem a little unhinged, but trust me, it makes sense. For a lot of the naviation you need to use as a programmer, you can get by with using the hjkl. Unlike the arrow keys and the mouse the hjkl keys are very easibly accessed on the home row of your keyboard. Which makes using them to navigate really convenient. Also, their use is pretty easy to get the hang of.
While in Normal Mode:
hmoves your curser leftjmoves your curser downkmoves your curser uplmoves your curser right
To get used to them, I’d suggest practicing for 15 minutes a day. It’ll feel pretty weird the first few days. But in a couple weeks it should feel just like riding a bicycle.
Vim Tutor
Congradulations! You now know the very basics of Vim, if you want to learn more on using this beautiful editor, I suggest looking into vimtutor.
The vimrc
At the top I mentioned that Vim was very configurable, however, with base Vim, there is no clear way to configure it. This is where the vimrc file comes into play.
The vimrc file is where you can configure the Vim text editor; you can enable things like Syntax Highlighting, Line Numbers, Rulers, and Auto Tab.
Accessing the vimrc
To check if you have a vimrc already on your computer, go to your home directory and type ls -A (on Windows this might be dir /a). This command will show you all of the files and folders in a directory that are both visible, and hidden (hidden files have a leading dot, ex: .vimrc) (it’ll look like _vimrc on windows). If you have a vimrc thats Awesome! If you don’t it’s pretty easy to create one. On OSX and Linux, type touch .vimrc in your home directory. On Windows, type echo. > _vimrc in your home directory.
Configuring the vimrc
To configure the vimrc, first open the file using vim with vim .vimrc. Unless your system has a default configuration, it should be empty.
Here’s code for a basic vimrc, where I explain each command:
1
2
3
4
5
6
7
8
9
10
11
12
13
14
15
16
17
18
19
20
21
22
23
24
25
26
27
" This command enables text highlighting, so your C++, Python, Java, ... etc is not
" just one colour
syntax on

" This command selects a colour scheme for your editor, I use slate, there are others.
" You can also download colorschemes from the net, but that is too advanced for this
" tutorial.
colourscheme slate

" This command lets you enable line numbers
set number

" This command enables line wrapping
set wrap

" For those who love the style checker, this command sets the line wrap limit to
" 79 characters
set textwidth=79

" This command sets the width of a tab to two spaces.
set tabstop=2

" This command converst tabs to the amount of spaces defined in the tabstop.
set expandtab

" This command automatically does the indentation for you.
set smartindent
Other editors
There are other editors that you can use, the purpose of this tutorial is to give people an option for a text editor everyone has access to.
If you want to use an IDE, I recommend VS Code, Clion or Zed. If you wish to keep using Vim, I suggest using NVim.
Issues / Feedback / Contributing
If you see any problems with these pages (incorrect information, misspelled words, incorrect formatting), please create an issue on the repo, or let one of the executives know.
If you have an idea for a resource or page that could be useful, please make a pull request so it can be added to the site, see more detail in the README.